
Spring Security 로그인 & 회원가입 만들기
서비스에는 사용자라는 개념이 존재하며 스프링 시큐리티는 스프링 프레임워크의 한 종류이다.
- 회원가입, 로그인, 로그아웃
- 사용자가 로그인했는지 안했는지에 따른 기능 변화 등 스프링에서는 이런 기능들을 대부분 스프링 시큐리티로 구현한다.
인증(Authentication)이란?
: 사용자가 자신이 누구인지를 증명하는 과정
권한(Authorization)이란?
: 사용자가 어떤 작업을 수행할 수 있는지를 결정하는
1️⃣ 스프링 시큐리티로 로그인 기능 구현하기
- 인텔리제이, 스프링부트 사용
- 먼저 start.sprikng.io 에서 새로운 프로젝트를 생성한다.

- 프로젝트 빌드 후 실행

- RootController 클래스 생성
@RestController
public class RootController {
    @GetMapping
    public String root(){
        return "hello";
    }
}
- locathost:8080 링크에 들어오면 “hello”가 출력되지 않고 로그인 창이 나오는걸 확인할 수 있다.

“hello”가 나오지 않고 로그인 창이 나오는 이유는?
= 우리가 스프링 시큐리티를 추가했기 때문에, 모든 url들이 보호받기 시작한것으로 인식할 수 있다. 그러므로 이 url에 접속하는 사용자들은 로그인이 된 사용자에게만 공개되도록 자동으로 설정이 되었기 떄문이다.
2️⃣ 인증 필요 설정
- RootController 생성 후 두개의 GetMapping 작성
- no-auth는 누구나 접근 가능하도록
- re-auth는 인증된 사용자만 접근 가능하도록
@RestController
public class RootController {
@GetMapping
public String root(){
return "hello";
}
// <http://localhostL8080/no-auth>
// no-auth는 누구나 접근 가능하도록
@GetMapping("/no-auth")
public String noAuth(){
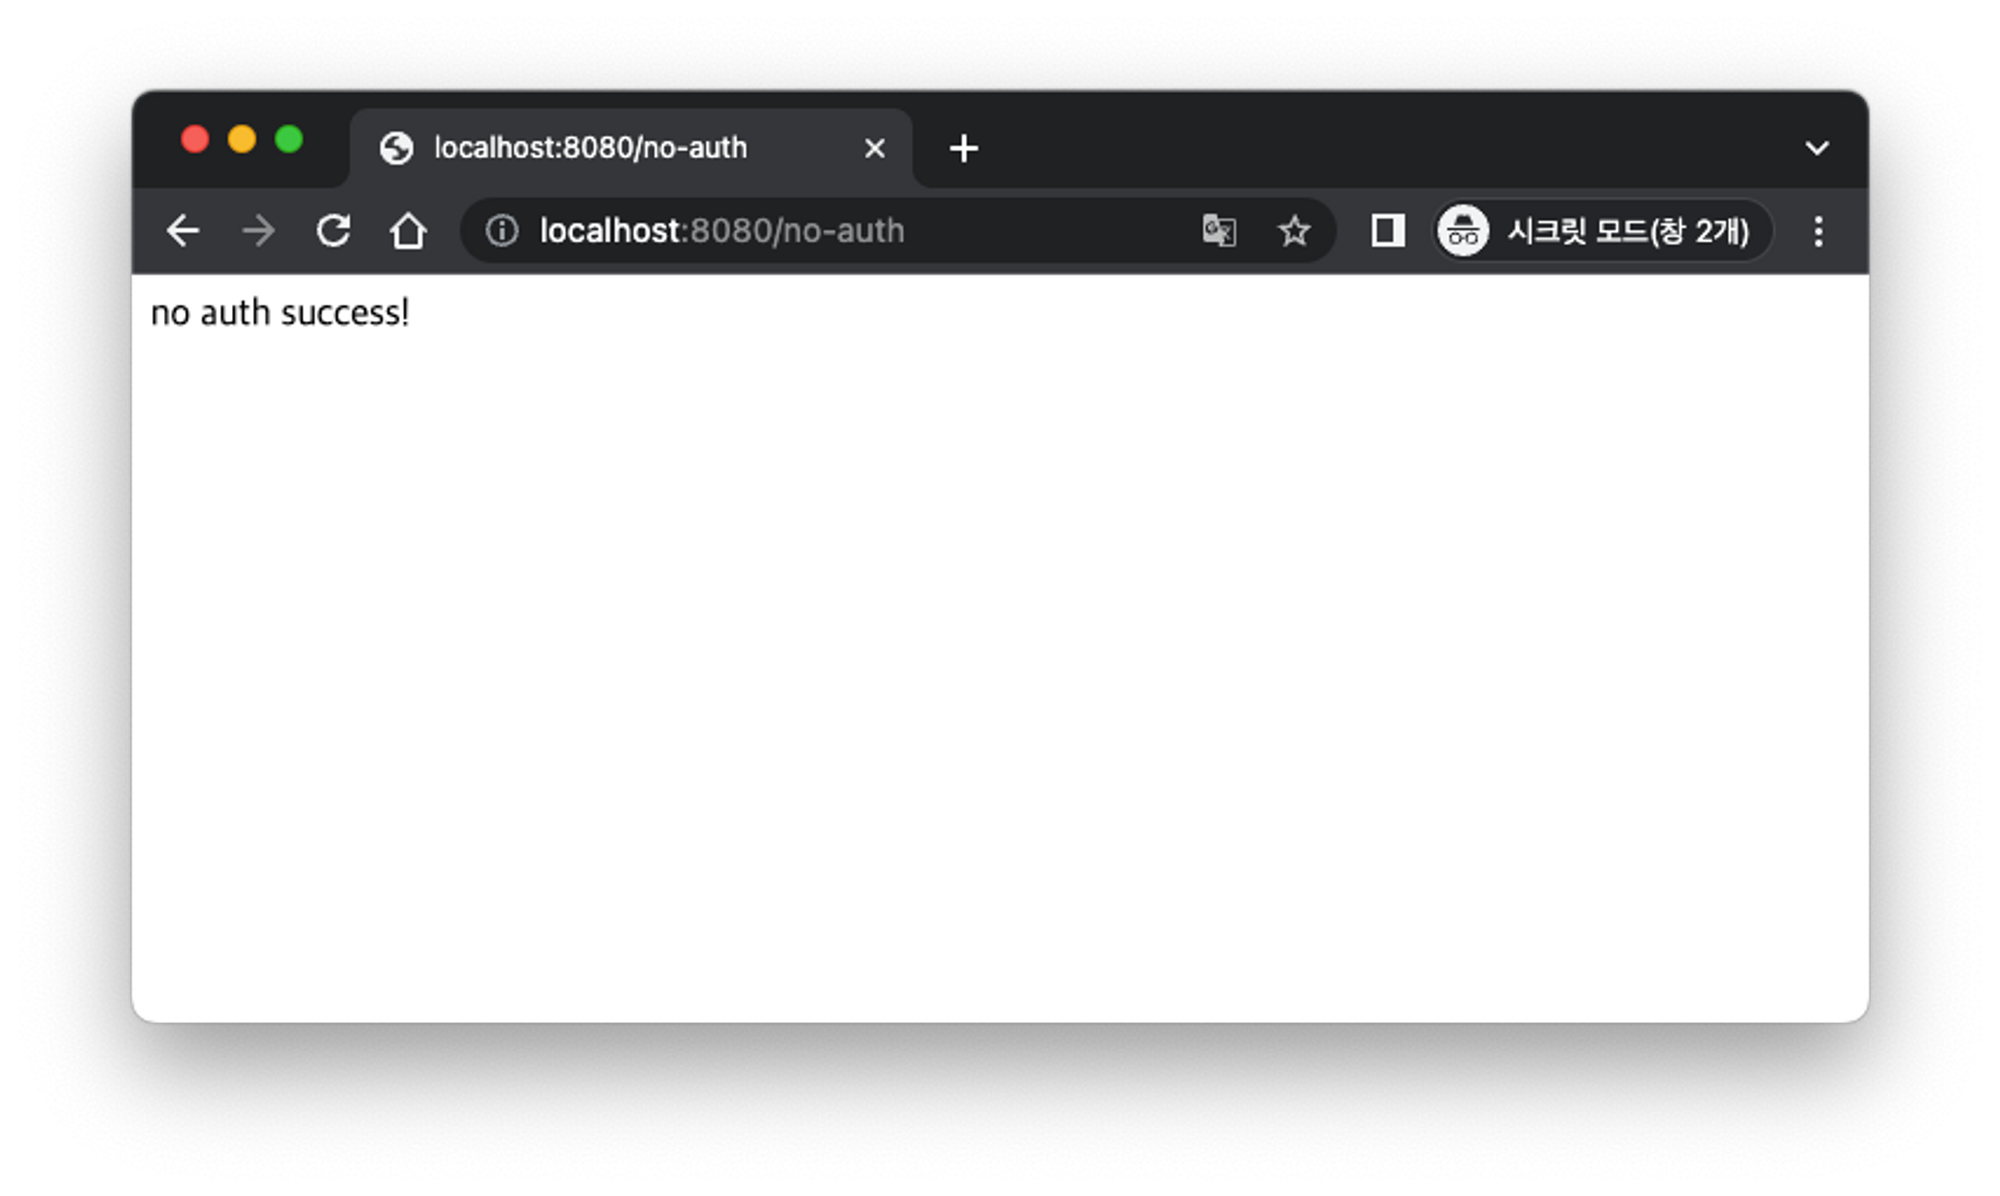
return "no auth success!";
}
// <http://localhostL8080/re-auth>
// re-auth는 인증된 사용자만 접근 가능하도록
@GetMapping("/re-auth")
public String reAuth(){
return "re auth success!";
}
}
- WebSecurityConfig 클래스 생성
SecurityFilterChain : Bean 객체를 반환하는 메소드를 정의한다.
http.authorizeHttpRequests : HTTP 요청의 인증 여부의 필요를 판단하기 위한 기능을 설정 할 수 있도록 해준다.
requestMatchers : 여러개의 Url을 복수개로 넣어 사용할 수 있다
requestMatcher(”URL”).permitAll() : requestMatchers() 로 설정한 URL 들이 인증이 없어도 접근이 가능하도록 설정한다.(누군가 요청해도 허가한다)
requestMatcher(”URL”).authenticated() : 해당 URL 요청을 인증된 사용자에게만 허용
requestMatcher(”URL”).anonymous() :해당 URL 요청을 인증되지 않은 사용자에게만 허용
@Configuration
public class WebSecurityConfig {
    @Bean // 메소드의 결과를 BEAN 객체로 등록해주는 어노테이션
    public SecurityFilterChain securityFilterChain(
            //DI 자동으로 설정됨, 빌더 패턴 처럼 쓴다.
            HttpSecurity http
    )
        throws Exception { //http 요청 허가 관련 설정을 하고 싶다.
     http.authorizeHttpRequests(authHttp ->
             // requestMatchers == 어떤 UTL로 오는 요청에 대하여 설정하는지
             // permitAll()   == 누가 요청해도 허가한다.
             authHttp.requestMatchers("/no-auth").permitAll());

        return http.build();

    }
}
/no-auth 경로 이동
/re-auth ⇒ 403 ERROR가 발생하는걸 확인할 수 있다.
403 ERROR : 사용자는 알겠지만 허가 되지 않은 접근이다.

처음에 보았던 로그인 화면 페이지가 사라진 이유는?
HttpSecurity를 커스텀 하기 시작했기 때문에 기본 제공되는 로그인 페이지 기능이 사라졌기때문이다.
하지만, 여전히 인증이 필요한 URL로 남아있다.
3️⃣ Form Login 생성
로그인 = 가장 기본적인 사용자 인증 방식
- 사용자가 로그인이 필요한 페이지로 이동
- 서버는 사용자를 로그인 페이지로 이동
- 사용자는 로그인 페이지를 통해 아이디와 비밀번호를 전달
- 아이디와 비밀번호 확인 후 사용자를 인식
이후 쿠키를 이용해 방금 로그인한 사용자를 세션을 이용해 기억한다.
📌 쿠키와 세션
HTTP 요청에는 상태가 없다.
- 각 요청은 독립적으로 이뤄진다.
- 사용자의 브라우저는 인증 사실을 매번 서버에 알려주어야한다.
- 이때 쿠키와 세션의 개념이 등장한다.
- 쿠키에 저장된 ID를 바탕으로 상태를 유지한다.
쿠키

- 서버에서 사용자의 브라우저로 보내는 작은 데이터
- 브라우저는 동일한 서버에 요청을 보낼 때 쿠키를 첨부해서 보낸다.
- 이후 사용자가 요청을 보낼 때, 해당 값을 보내주면 서버에서 저장을 해놓은 정보를 기반으로 브라우저에 로그인한 사용자가 누구인지를 구분할 수 있다.
세션
- 쿠키에 저장된 ID를 바탕으로 상태를 유지하는 것.
⇒ 이러한 쿠키와 세션의 기능은 스프링 시큐리티가 미리 구현해두었기 때문에 그 기능들을 활용해서 사용할 수 있다.
4️⃣ 로그인 구현하기
- UserController(로그인을 하기위한 엔드 포인트를 정의하는 컨트롤러 생성
/login : 로그인 페이지를 보여주기 위함
/my-profile : 로그인한 사용자가 자신의 정보를 확인하기 위함(로그인이 잘 되었는지)
@Controller //로그인 페이지를 보여주려고 사용
@Slf4j
@RequestMapping("/users")
public class UserController{
    //시나리오
    //1. login 페이지로 온다.
    //2. login 페이지에 아이디와 비밀번호를 입력한다.
    //3, 성공하면 my-profile로 이동한다.

    //로그인 페이지를 위한 GetMapping
    @GetMapping("/login")
    public String loginForm(){
        return "login-form";
    }

    //로그인 성공 후 로그인 여부를 판단하기 위한 GetMapping
    @GetMapping("/my-profile")
    public String myProfile(){
        return "my-profile";
    }
}
- login-form.html과 my-profile.html를 만들어 templates 경로에 넣어준다.
login-form.html
<!DOCTYPE html>
<html lang="en">
<head>
  <meta charset="UTF-8">
  <title>Title</title>
  <meta name="viewport" content="width=device-width, initial-scale=1.0">
  <link href="https://cdn.jsdelivr.net/npm/bootstrap@5.2.0/dist/css/bootstrap.min.css" rel="stylesheet" integrity="sha384-gH2yIJqKdNHPEq0n4Mqa/HGKIhSkIHeL5AyhkYV8i59U5AR6csBvApHHNl/vI1Bx" crossorigin="anonymous">
</head>
<body>
<!--  <h1>Sign In</h1>-->
<!--  <form th:action="@{/users/sign-in}" method="post">-->
<!--    <input type="text" name="username" placeholder="아이디">-->
<!--    <input type="password" name="password" placeholder="비밀번호">-->
<!--    <button type="submit">로그인</button>-->
<!--  </form>-->
<main class="flex-shrink-0">
  <section class="py-5">
    <div class="container px-5">
      <!-- login form-->
      <div class="bg-light rounded-3 py-5 px-4 px-md-5 mb-5">
        <div class="row gx-5 justify-content-center">
          <div class="col-lg-8 col-xl-6">
            <h1 class="text-center mb-5">로그인</h1>
            <form action="/users/login" method="post">
              <div class="form-floating mb-3">
                <input class="form-control" id="identifier" name="username" type="text" placeholder="Enter your username...">
                <label for="identifier">ID</label>
              </div>
              <div class="form-floating mb-3">
                <input class="form-control" id="password" name="password" type="password" placeholder="Enter your password...">
                <label for="password">Password</label>
              </div>
              <div class="d-grid"><button class="btn btn-primary btn-lg" id="sign-in-button" type="submit">Submit</button></div>
              <div style="margin-top: 16px; text-align: right"><a href="/users/register">회원가입</a></div>
            </form>
          </div>
        </div>

      </div>
    </div>
  </section>
</main>
<script src="https://cdn.jsdelivr.net/npm/bootstrap@5.2.0/dist/js/bootstrap.bundle.min.js" integrity="sha384-A3rJD856KowSb7dwlZdYEkO39Gagi7vIsF0jrRAoQmDKKtQBHUuLZ9AsSv4jD4Xa" crossorigin="anonymous"></script>
</body>
</html>my-profile.html
<!DOCTYPE html>
<html lang="en">
<head>
  <meta charset="UTF-8">
  <title>Title</title>
</head>
<body>
  <h1>My Profile</h1>
  <form action="/users/logout" method="post">
    <input type="submit" value="로그아웃">
  </form>
</body>
</html>
- WebSecurityConfig 클래스에서 .formLogin 메소드 생성
.formLogin : HTML form 요소를 이용한 로그인 기능을 사용하는 경우 활용할 수 있는 설정이다.
.loginPage("/user/login") : 로그인 하는 페이지(경로)를 지정한다.
.defaultSuccessUrl("/users/my-profile") : 로그인 성공시 이동하는 페이지(경로)
.failureForwardUrl("/users/login?fail") : 로그인 실패시 이동하는 페이지(경로)
.permitAll() : 로그인 과정에서 필요한 경로들을 모든 사용자가 사용할 수 있게 권한 설정하는 것
@Configuration
public class WebSecurityConfig {
    @Bean // 메소드의 결과를 BEAN 객체로 등록해주는 어노테이션
    public SecurityFilterChain securityFilterChain(
            //DI 자동으로 설정됨, 빌더 패턴 처럼 쓴다.
            HttpSecurity http
    )
    throws Exception { //http 요청 허가 관련 설정을 하고 싶다.
     http
             //1. requestMatchers를 통해 설정할 url 지정
             //2. permitAll(), authenticated() 등을 통해 어떤 사용자가 접근 가능한지 설정
             .authorizeHttpRequests(
                     authHttp -> authHttp
             // requestMatchers == 어떤 UTL로 오는 요청에 대하여 설정하는지
             // permitAll()   == 누가 요청해도 허가한다.
                    .requestMatchers("/no-auth")
                    .permitAll()
                    .requestMatchers( "/re-auth")
                    .authenticated() // 인증이 된 사용자만 허가
                    .requestMatchers("/")
                    .anonymous() // 인증이 되지 않은 사용자만 허가
             )

             // form을 이용한 로그인 관련 설정
             .formLogin(
                     formLogin -> formLogin
                             // 로그인 하는 페이지(경로)를 지정)
                             .loginPage("/user/login")

                             // 로그인 성공시 이동하는 페이지(경로)
                             .defaultSuccessUrl("/users/my-profile")

                             // 로그인 실패시 이동하는 페이지(경로)
                             .failureForwardUrl("/users/login?fail")

                             // 로그인 과정에서 필요한 경로들을
                             // 모든 사용자가 사용할 수 있게끔 권한 설정
                             .permitAll()
          );

        return http.build();

    }
}
UserDetailsService (UserDetailsManager)
- 스프링 시큐리티 내부적으로 로그인 과정을 진행하기 위해 사용하는 인터페이스
- 개발자가 Bean 객체로 등록할 시 로그인 과정을 커스텀 할 수 있다.
- @Bean 메소드를 만들어 추가로 비밀번호를 암호화하기 위한 PasswordEncode를 만들어준다.
- UserDetails에 user과 user2로 임시 User를 생성했다.
UserDetails를 이용하면 인터페이스를 통해 정의, 인증절차에 필수적이지 않은 정보를 별도로 관리할 수 있다.
이렇게 정의해두면, 시큐리티 내부에서 UserDetailsService 가 필요한 시점에 이 구현체를 대신 사용하게 된다.
@Bean
    // 사용자 관리를 위한 인터페이스 구현체 Bean
    public UserDetailsManager userDetailsManager(
            PasswordEncoder passwordEncoder
    ) {
        // 임시 User
        UserDetails user1 = User.withUsername("user1")
                .password(passwordEncoder.encode("password"))
                .build();
        UserDetails user2 = User.withUsername("user2")
                .password(passwordEncoder.encode("password2"))
                .build();
        // Spring 에서 미리 만들어놓은 사용자 인증 서비스
        return new InMemoryUserDetailsManager(user1, user2);
    }

    @Bean
    // 비밀번호 암호화를 위한 Bean
    public PasswordEncoder passwordEncoder(){
        // 기본적으로 사용자 비밀번호는 해독가능한 형태로 데이터베이스에
        // 저장되면 안된다. 그래서 기본적으로 비밀번호를 단방향 암호화 하는
        // 인코더를 사용한다.
        return new BCryptPasswordEncoder();
    }
}
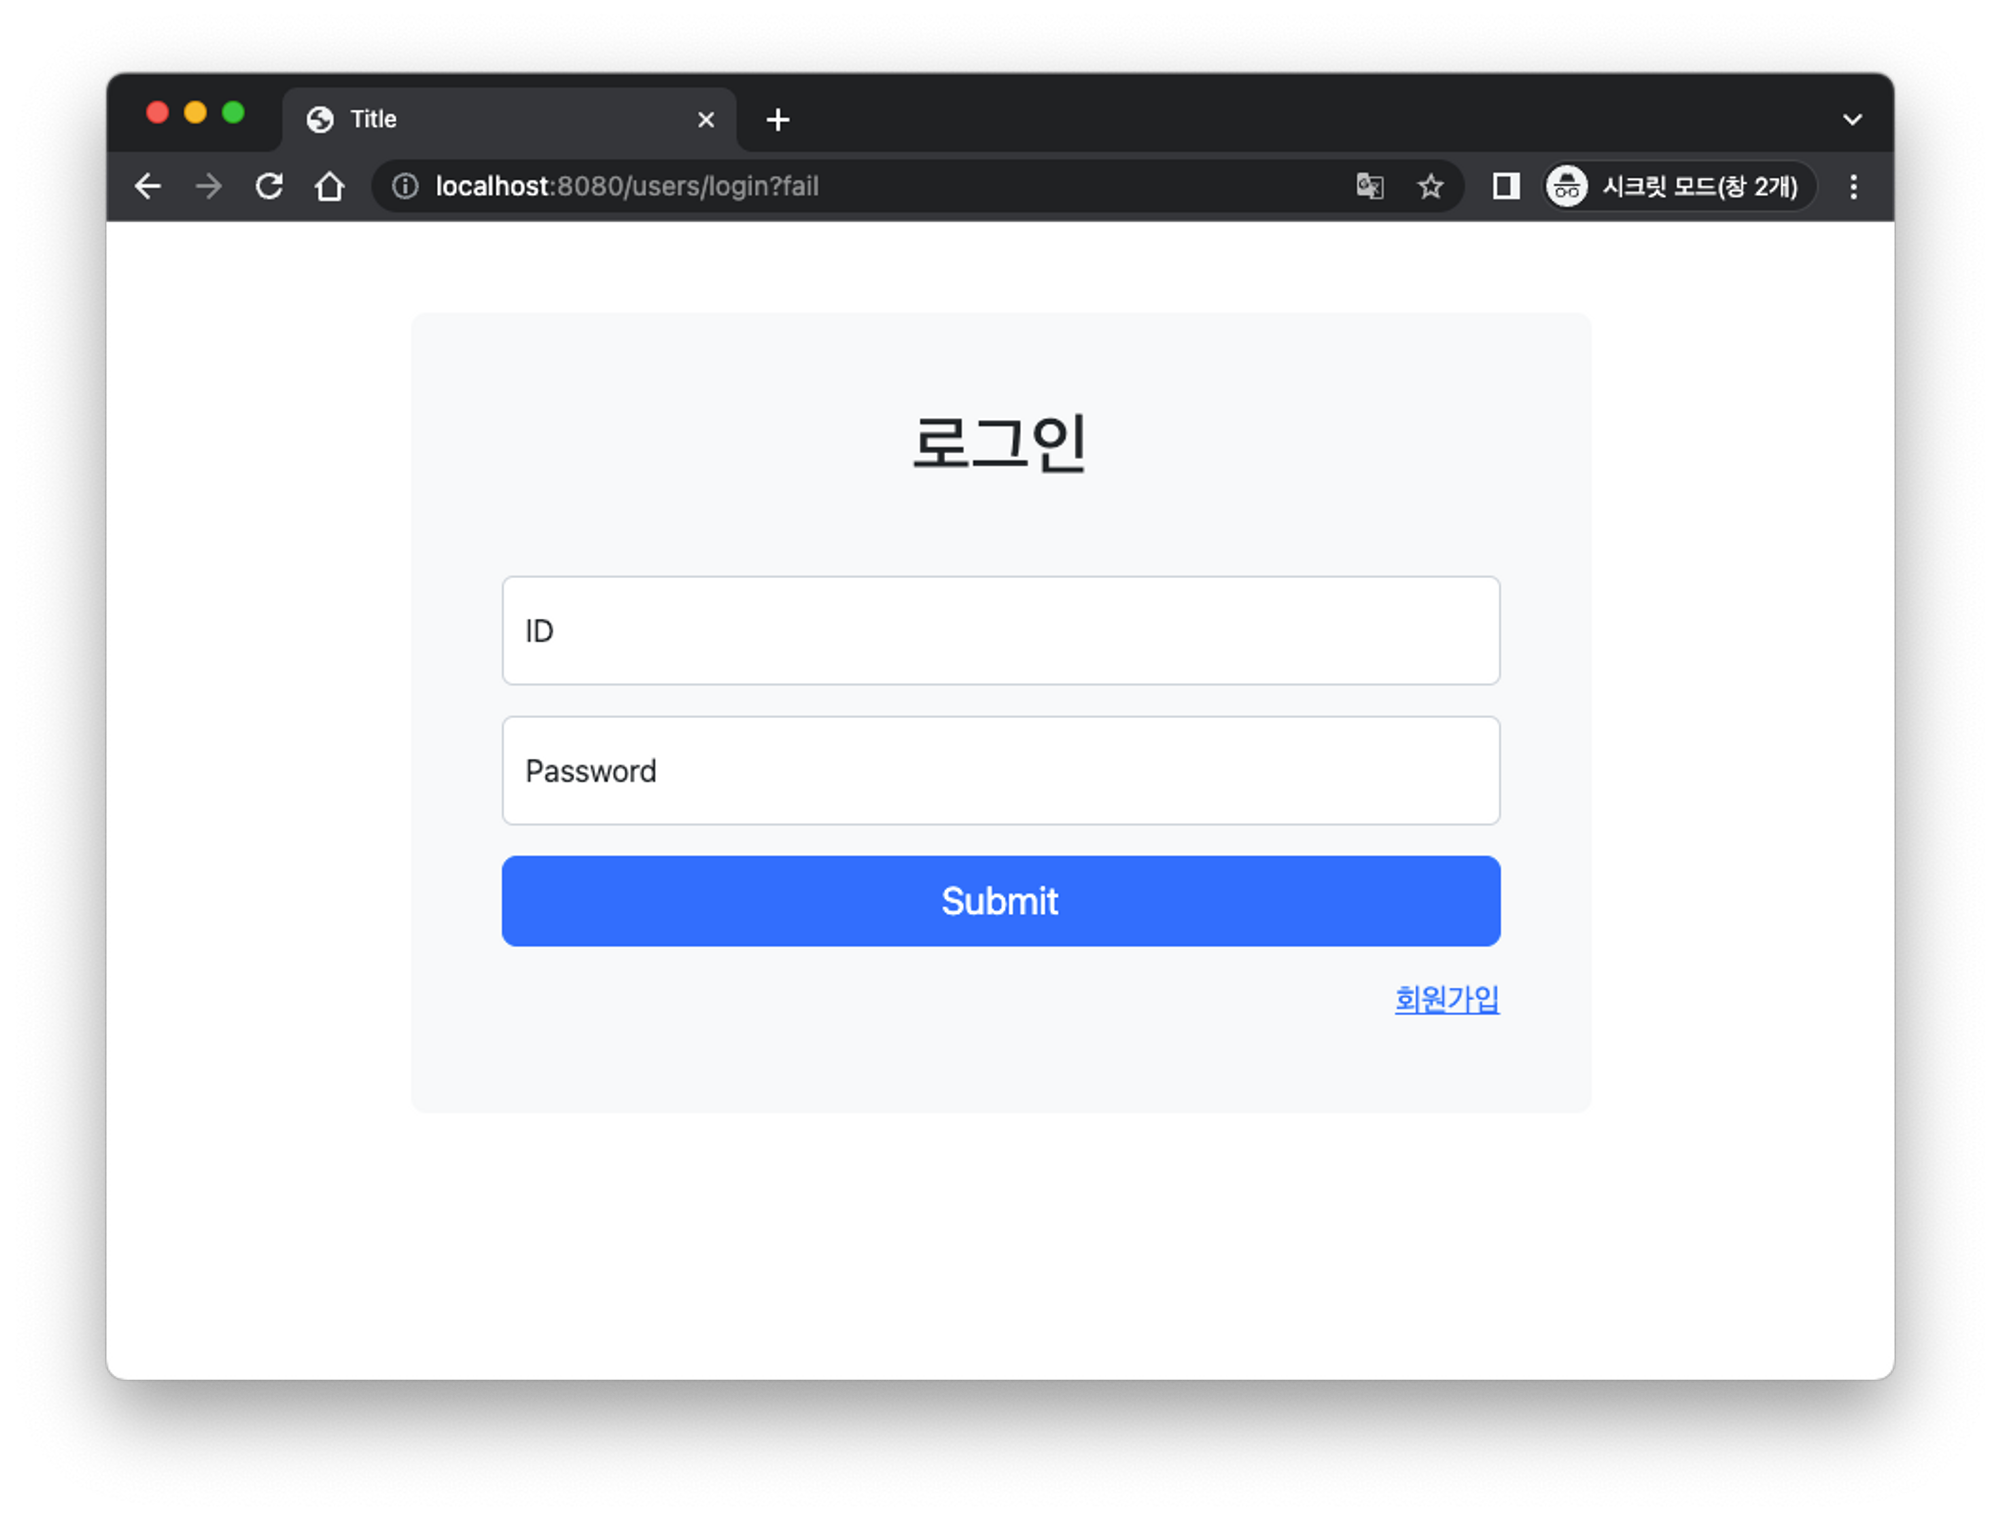
로그인 화면 확인
/users/login 을 통해 ‘user1’과 ‘user2’에 대한 로그인을 해볼 수 있다.

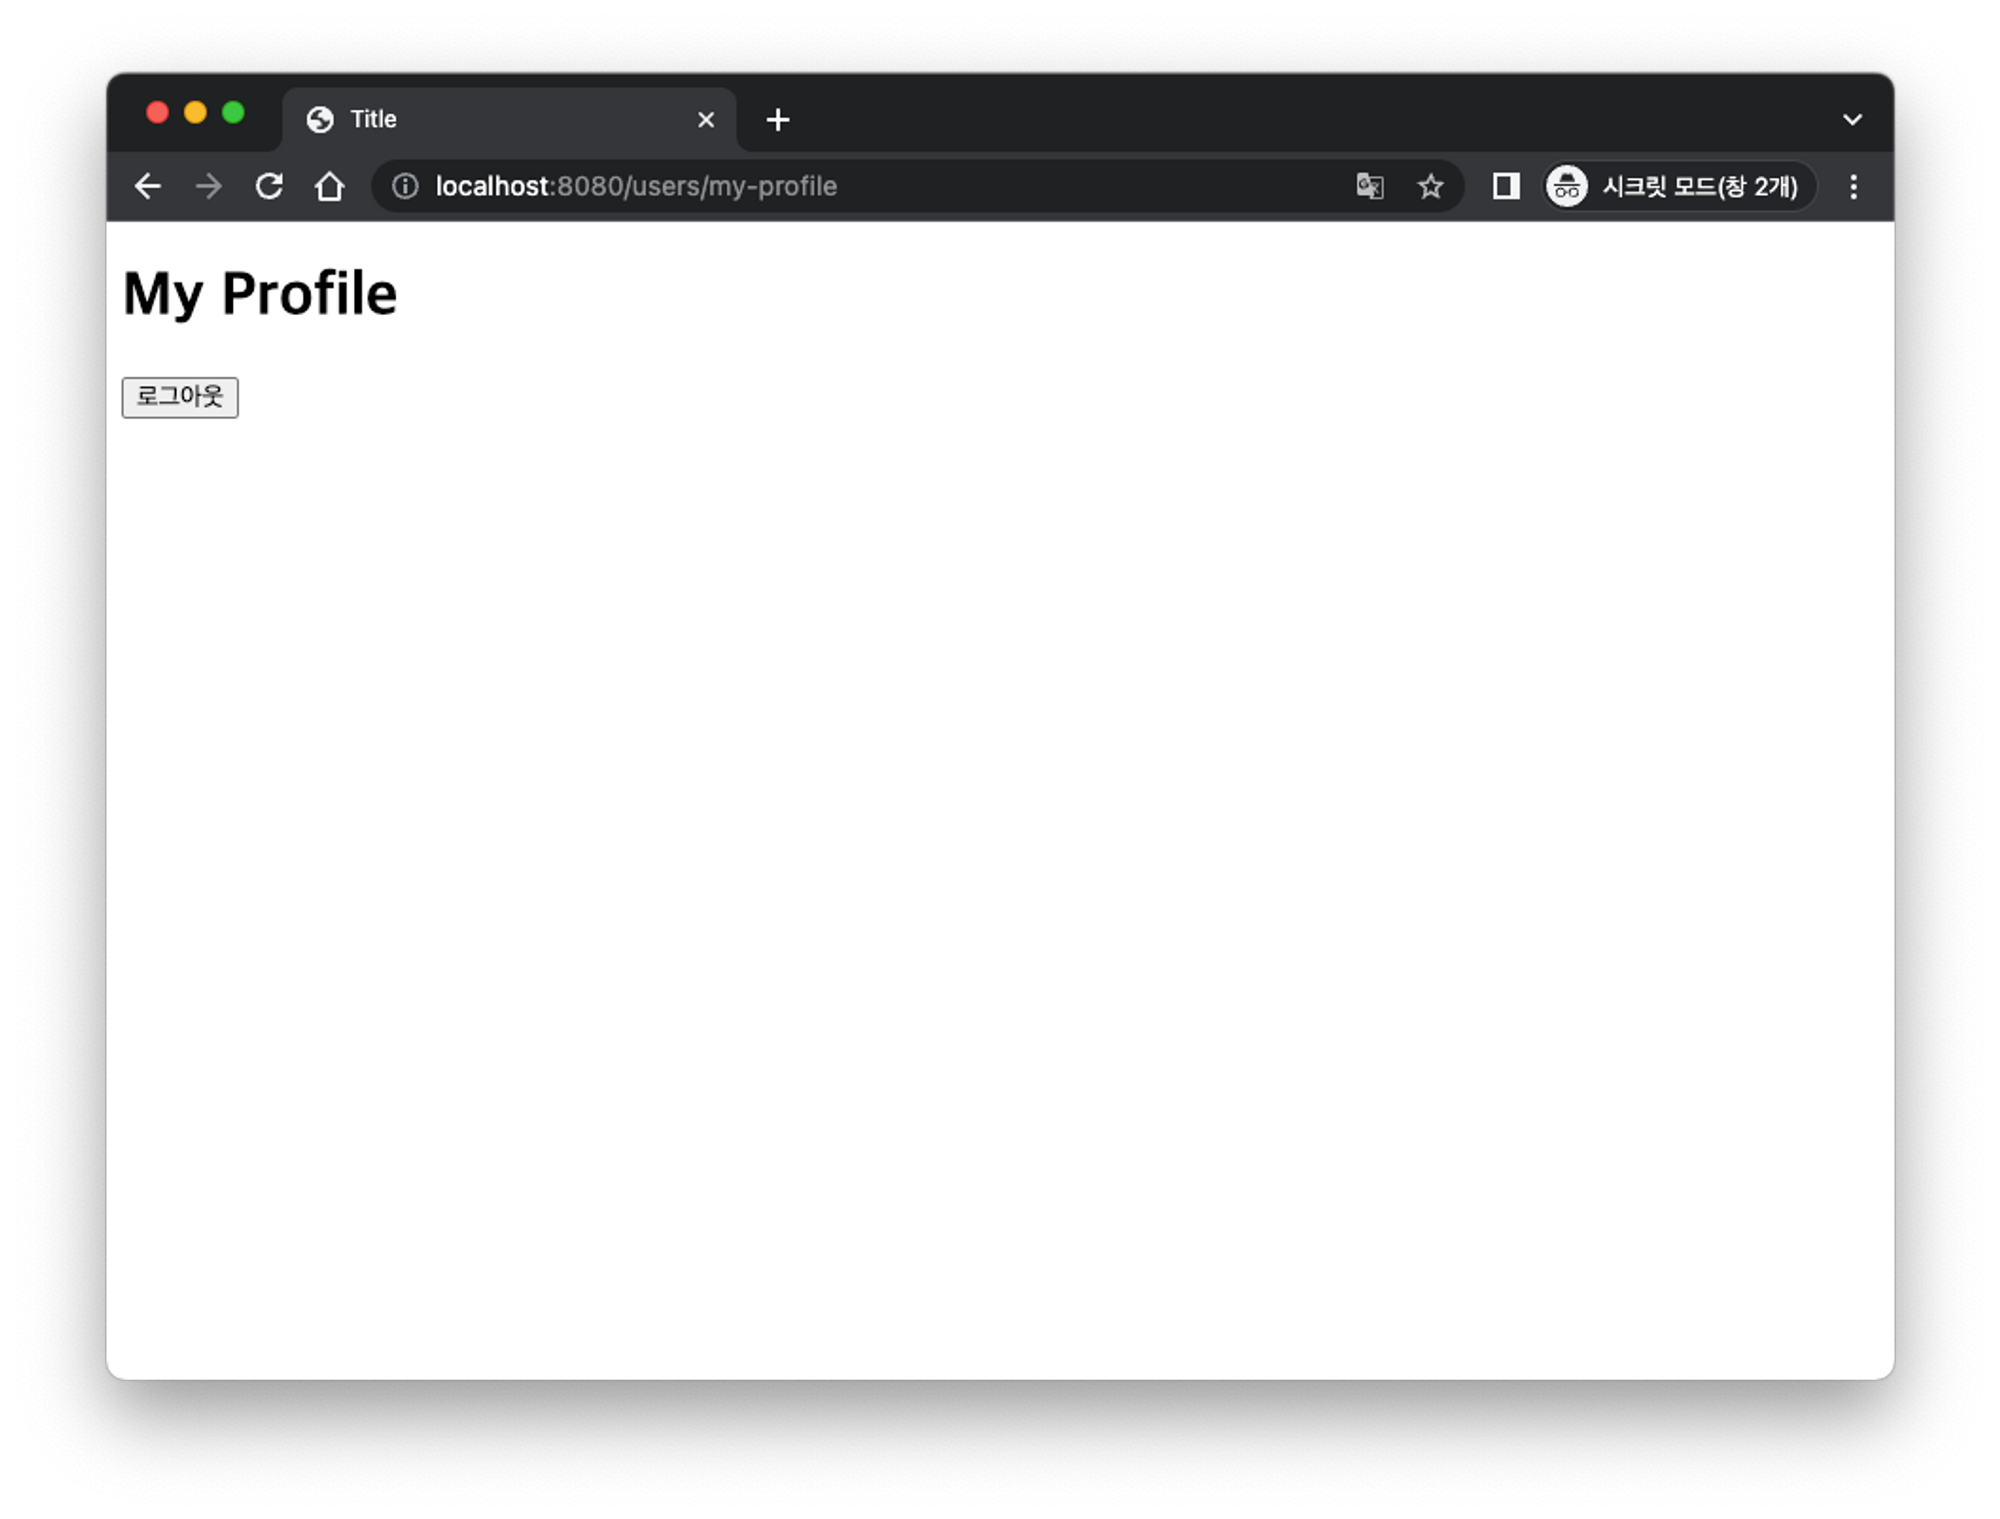
/users/my-profile 로그인을 한 뒤 이동하여 ‘user1’ 이 로그인 된 걸 확인할 수 있다.

5️⃣ 로그아웃 설정
로그아웃 과정은 간단하게 세션에 저장되어있는 사용자의 세션 정보를 삭제하면 된다.
- WebSecurityConfig에 로그아웃 관련 설정을 추가해준다.
- .logoutUrl() : 로그아웃 요청을 받는 URL. HTML에서 해당 URL로 요청을 보내면 사용자가 로그아웃된다.
- .logoutSuccessUrl() : 로그아웃 성공시 사용자를 이동시킬 URL
... // form 을 이용한 로그인 관련 설정 .formLogin( formLogin -> formLogin // 로그인 하는 페이지(경로)를 지정 .loginPage("/users/login") // 로그인 성공시 이동하는 페이지(경로) .defaultSuccessUrl("/users/my-profile") // 로그인 실패시 이동하는 페이지(경로) .failureUrl("/users/login?fail") // 로그인 과정에서 필요한 경로들을 // 모든 사용자가 사용할 수 있게끔 권한설정 .permitAll()) // 로그아웃 관련 설정 .logout( logout -> logout // 로그아웃 요청을 보낼 URL // 어떤 UI에 로그아웃 기능을 연결하고 싶으면 // 해당 UI가 /users/logout으로 POST 요청을 // 보내게끔 .logoutUrl("/users/logout") // 로그아웃 성공시 이동할 URL 설정 .logoutSuccessUrl("/users/login") ); return http.build(); }- /users/my-profile 경로로 이동후 로그아웃 버튼을 누루면 로그아웃이 되는걸 확인할 수 있다.

6️⃣ 회원가입 구현하기
<aside> 💡 회원가입 시나리오
- 사용자가 /register 페이지로 온다.
- 사용자가 register 페이지에 ID, 비밀번호, 비밀번호 확인을 입력한다.
- register 페이지에서 /users/register 로 POST 요청한다.
- UserDetailsManager 에 새로운 사용자 정보 추가한다.
</aside>
✅ register 페이지 조회 기능 구현
회원가입을 위한 URL을 로그인 없이 접속할 수 있도록 설정을 진행
- webSecurityCode에 추가
http
          .csrf(AbstractHttpConfigurer::disable)
          // 1. requestMatchers를 통해 설정할 URL 지정
          // 2. permitAll(), authenticated() 등을 통해 어떤 사용자가
          //    접근 가능한지 설정
          .authorizeHttpRequests(
                  authHttp -> authHttp // HTTP 요청 허가 관련 설정을 하고 싶다.
                          // requestMatchers == 어떤 URL로 오는 요청에 대하여 설정하는지
                          // permitAll() == 누가 요청해도 허가한다.
                          .requestMatchers("/no-auth")
                          .permitAll()
                          .requestMatchers(
                                  "/re-auth",
                                  "/users/my-profile"
                          )
                          .authenticated()  // 인증이 된 사용자만 허가
                          .requestMatchers("/", "users/register")
                          .anonymous()  // 인증이 되지 않은 사용자만 허가
).anonymous() : 로그인 되지 않은 사용자만 접근 가능하도록 Url 설정
- UserController 에서 회원가입에 필요한 정보를 입력하는 엔드포인트를 생성한다.
@GetMapping("/register")
public String signUpForm() {
    return "register-form";
}
- register.html 폼을 생성한다.
<!DOCTYPE html>
<html lang="en">
<head>
  <meta charset="UTF-8">
  <title>Title</title>
  <meta name="viewport" content="width=device-width, initial-scale=1.0">
  <link href="https://cdn.jsdelivr.net/npm/bootstrap@5.2.0/dist/css/bootstrap.min.css" rel="stylesheet" integrity="sha384-gH2yIJqKdNHPEq0n4Mqa/HGKIhSkIHeL5AyhkYV8i59U5AR6csBvApHHNl/vI1Bx" crossorigin="anonymous">
</head>
<body>
<main class="flex-shrink-0">
  <section class="py-5">
    <div class="container px-5">
      <!-- login form-->
      <div class="bg-light rounded-3 py-5 px-4 px-md-5 mb-5">
        <div class="row gx-5 justify-content-center">
          <div class="col-lg-8 col-xl-6">
            <h1 class="text-center mb-5">회원가입</h1>
            <form action="/users/register" method="post">
              <div class="form-floating mb-3">
                <input class="form-control" id="identifier" name="username" type="text" placeholder="Enter your identifier...">
                <label for="identifier">ID</label>
              </div>
              <div class="form-floating mb-3">
                <input class="form-control" id="password" name="password" type="password" placeholder="Enter your password...">
                <label for="password">Password</label>
              </div>
              <div class="form-floating mb-3">
                <input class="form-control" id="password-check" name="password-check" type="password" placeholder="Re-enter your password...">
                <label for="password-check">Password Check</label>
              </div>
              <div class="d-grid"><button class="btn btn-primary btn-lg" id="sign-in-button" type="submit">Submit</button></div>
              <div style="margin-top: 16px; text-align: right"><a href="/users/login">로그인</a></div>
            </form>
          </div>
        </div>

      </div>
    </div>
  </section>
</main>
<script src="https://cdn.jsdelivr.net/npm/bootstrap@5.2.0/dist/js/bootstrap.bundle.min.js" integrity="sha384-A3rJD856KowSb7dwlZdYEkO39Gagi7vIsF0jrRAoQmDKKtQBHUuLZ9AsSv4jD4Xa" crossorigin="anonymous"></script>
</body>
</html>7️⃣ 사용자가 입력한 회원가입 정보 처리하기
- 해당 Html 폼과 연결되는 UserController에 @PostMapping("/register") 생성
@PostMapping("/register")
    public String registerPost(
            @RequestParam("username") String username,
            @RequestParam("password") String password,
            @RequestParam("password-check") String passwordCheck
    ) {
        if (password.equals(passwordCheck)) {
            log.info("password match!");
            // username 중복도 확인해야 하지만,
            // 이 부분은 Service 에서 진행하는 것도 나쁘지 않아보임
            manager.createUser(User.withUsername(username)
                    .password(passwordEncoder.encode(password))
                    .build());
            return "redirect:/users/login";
        }
        log.warn("password does not match...");
        return "redirect:/users/register?error";
    }
- 새로운 사용자 등록하기 UserController코드 수정
// 어떻게 사용자를 관리하는지는
    // interface 기반으로 의존성 주입
    private final UserDetailsManager manager;
    private final PasswordEncoder passwordEncoder;

    public UserController(
            UserDetailsManager manager,
            PasswordEncoder passwordEncoder
    ) {
        this.manager = manager;
        this.passwordEncoder = passwordEncoder;
    }
이를 이용하여 새로운 사용자를 추가할 수 있다.
- UserController 전체 코드를 참고
package com.example.auth.controller;

import lombok.extern.java.Log;
import lombok.extern.slf4j.Slf4j;
import org.springframework.security.core.Authentication;
import org.springframework.security.core.context.SecurityContextHolder;
import org.springframework.security.core.userdetails.User;
import org.springframework.security.crypto.password.PasswordEncoder;
import org.springframework.security.provisioning.UserDetailsManager;
import org.springframework.stereotype.Controller;
import org.springframework.web.bind.annotation.GetMapping;
import org.springframework.web.bind.annotation.PostMapping;
import org.springframework.web.bind.annotation.RequestMapping;
import org.springframework.web.bind.annotation.RequestParam;

import java.lang.annotation.Retention;

@Controller //로그인 페이지를 보여주려고 사용
@Slf4j
@RequestMapping("/users")
public class UserController {
    //시나리오
    //1. login 페이지로 온다.
    //2. login 페이지에 아이디와 비밀번호를 입력한다.
    //3, 성공하면 my-profile로 이동한다.

    //로그인 페이지를 위한 GetMapping
    @GetMapping("/login")
    public String loginForm() {
        return "login-form";
    }

    // 로그인 성공 후 로그인 여부를 판단하기 위한 GetMapping
    @GetMapping("/my-profile")
    public String myProfile(Authentication authentication) {

        log.info(authentication.getName());
        log.info(((User) authentication.getPrincipal()).getUsername());
        log.info(SecurityContextHolder.getContext().getAuthentication().getName());
        //현재 접속중인 사용자 정보 출력
        return "my-profile";
    }

    //1. 사용자가 register 페이지로 온다.
    //2. 사용자가 register 페이지에 ID, 비밀번호, 비밀번호 확인을 입력
    //3. register 페이지에서 /users/register 로 POST 요창
    //4. UserDetailsManager 에 새로운 사용자 정보 추가
    @GetMapping("/register")
    public String registerForm() {
        return "register-form";
}

    // 어떻게 사용자를 관리하는지는
    // interface 기반으로 의존성 주입
    private final UserDetailsManager manager;
    private final PasswordEncoder passwordEncoder;

    public UserController(
            UserDetailsManager manager,
            PasswordEncoder passwordEncoder
    ) {
        this.manager = manager;
        this.passwordEncoder = passwordEncoder;
    }

    @PostMapping("/register")
    public String registerPost(
            @RequestParam("username") String username,
            @RequestParam("password") String password,
            @RequestParam("password-check") String passwordCheck

    ) { //사용자가 입력한 비밀번호와 비밀번호 등록 값이 일치하는지 확인
        if (password.equals(passwordCheck)) {
            log.info("password match!");
            // username 중복도 확인해야 하지만,
            // 이 부분은 Service 에서 진행하는 것도 나쁘지 않아보임
            manager.createUser(User.withUsername(username)
                    .password(passwordEncoder.encode(password))
                    .build());
				//로그인 성공시 로그인 페이지로 이동하게 설정
            return "redirect:/users/login";
        }
        log.warn("password does not match...");
			//로그인 실패시 "password does not match..." 문구가 나오며 회원가입 페이지에 머물게 설정
        return "redirect:/users/register?error";
    }
}
8️⃣ 사용자 정보 확인 /my-profile
누가 로그인을 시도했는지 알기 위해서 UserController에 /my-profile 메소드를 추가하고, Authentication 을 추가하면 현재 사용자와 연관되어 있는 인증 정보를 확인할 수 있다.
@GetMapping("/my-profile")
public String myProfile(Authentication authentication) {
    log.info(authentication.getName());
    return "my-profile";
여기서 authentication.getPrincipal() 메소드를 활용한다면 UserDetails 객체를 가져올 수 있습니다. 만약 우리가 UserDetails 를 커스텀해서 제작했고 사용된 UserDetails 의 정확한 구현체 정보를 알고 있다면, authentication.getPrincipal() 객체를 형변환해서 해당 구현체로 취급할 수 있다.
// 로그인 성공 후 로그인 여부를 판단하기 위한 GetMapping
    @GetMapping("/my-profile")
    public String myProfile(Authentication authentication) {

        log.info(authentication.getName());
        log.info(((User) authentication.getPrincipal()).getUsername());
        log.info(SecurityContextHolder.getContext().getAuthentication().getName());
        //현재 접속중인 사용자 정보 출력
        return "my-profile";
}9️⃣ 새로운 사용자로 로그인 및 회원가입 실습해보기
위에서 만든 ‘user1’, ‘user2’ 이외에 새로운 사용자로 회원가입을 진행해보자
1️⃣ 회원가입 /users/register
- http://localhost:8080/users/register 링크에서 ‘회원가입’을 누른뒤 새로운 사용자인
- ‘popo’를 회원가입 시키기 위한 정보를 입력한 뒤 ‘Submit’ 버튼을 눌러보자.

2️⃣ 회원가입 후 로그인 /users/login
- 회원가입이 된 후 http://localhost:8080/users/login로 이동되어 로그인 화면이 나오면 회원가입을 진행했던 아이디와 비밀번호를 입력한 뒤 ‘Submit’ 버튼을 누른다.

3️⃣ 로그인 확인 /users/my-profile
- 로그인이 되었다면 http://localhost:8080/users/my-profile로 이동되어 ‘My Profile’과 로그아웃버튼이 생긴걸 확인할 수 있다.

- 만약 사용자의 정보(아이디 혹은 비밀번호)가 틀렸다면 http://localhost:8080/users/login?fail로 넘어가며 재로그인 화면이 나오는 걸 확인할 수 있다.
4️⃣ 로그아웃
- 로그인에 성공한 뒤 http://localhost:8080/users/my-profile에서 ‘로그아웃’버튼을 누르면 로그아웃을 할 수 있다.
- 로그아웃에서 성공했다면 다시 로그인 화면으로 돌아갈 것이다.
5️⃣ 사용자 정보 출력 확인
- 사용자가 회원가입을 한 뒤 로그인에 성공했다면 인텔리제이에서 “password match!” 와 함께 popo 사용자의 정보가 출력된 걸 확인할 수 있다.

✅ 앞으로 구현하고 싶은 기능
비밀번호 형식 기능을 추가하고싶다. (최소 글자 및 최대 글자, 사용가능한 문자)
'Spring' 카테고리의 다른 글
| MyBatis (0) | 2023.07.09 |
|---|---|
| [Spring] CRUD란? (0) | 2023.07.09 |
| 어노테이션 (0) | 2023.06.09 |
| [Thymeleaf] 자주 사용하는 문법 (0) | 2023.06.08 |
| [Spring] 객체 지향 설계와 스프링 (0) | 2023.05.30 |